In this QCAD tutorial, we will calibrate the
printer. Printer calibration ensures that drawings
printed from QCAD match their intended real-world dimensions. Even when printing at a scale of 1:1, most
printers do not reproduce dimensions with perfect accuracy. A line that is 100 millimeters long in a
drawing might be printed as 99 or 101 millimeters on paper. This small deviation can matter when the
printout is used as a template or needs to be compared against a
physical object. QCAD provides a printer calibration feature
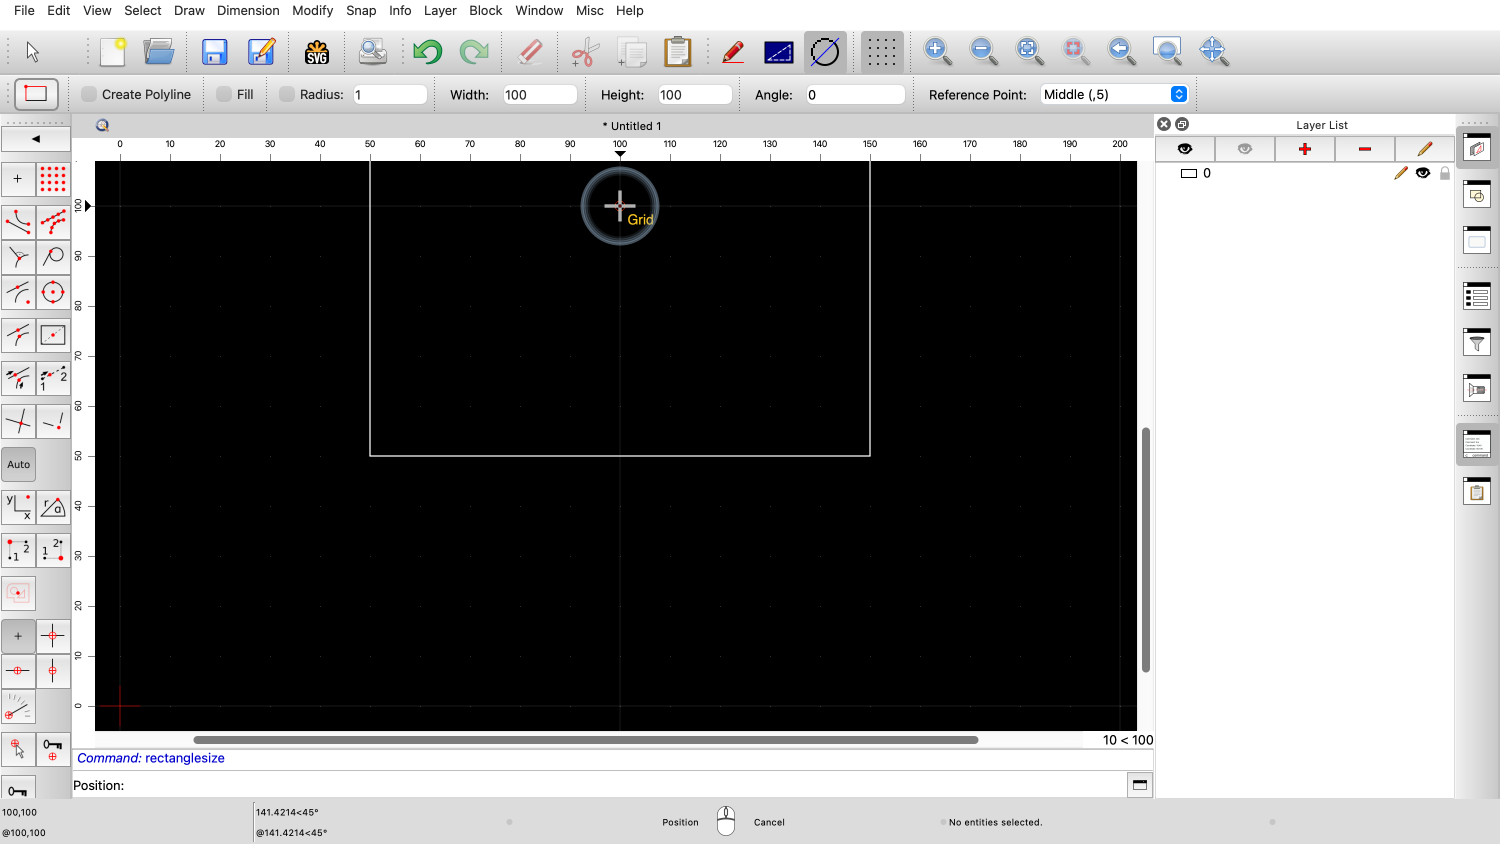
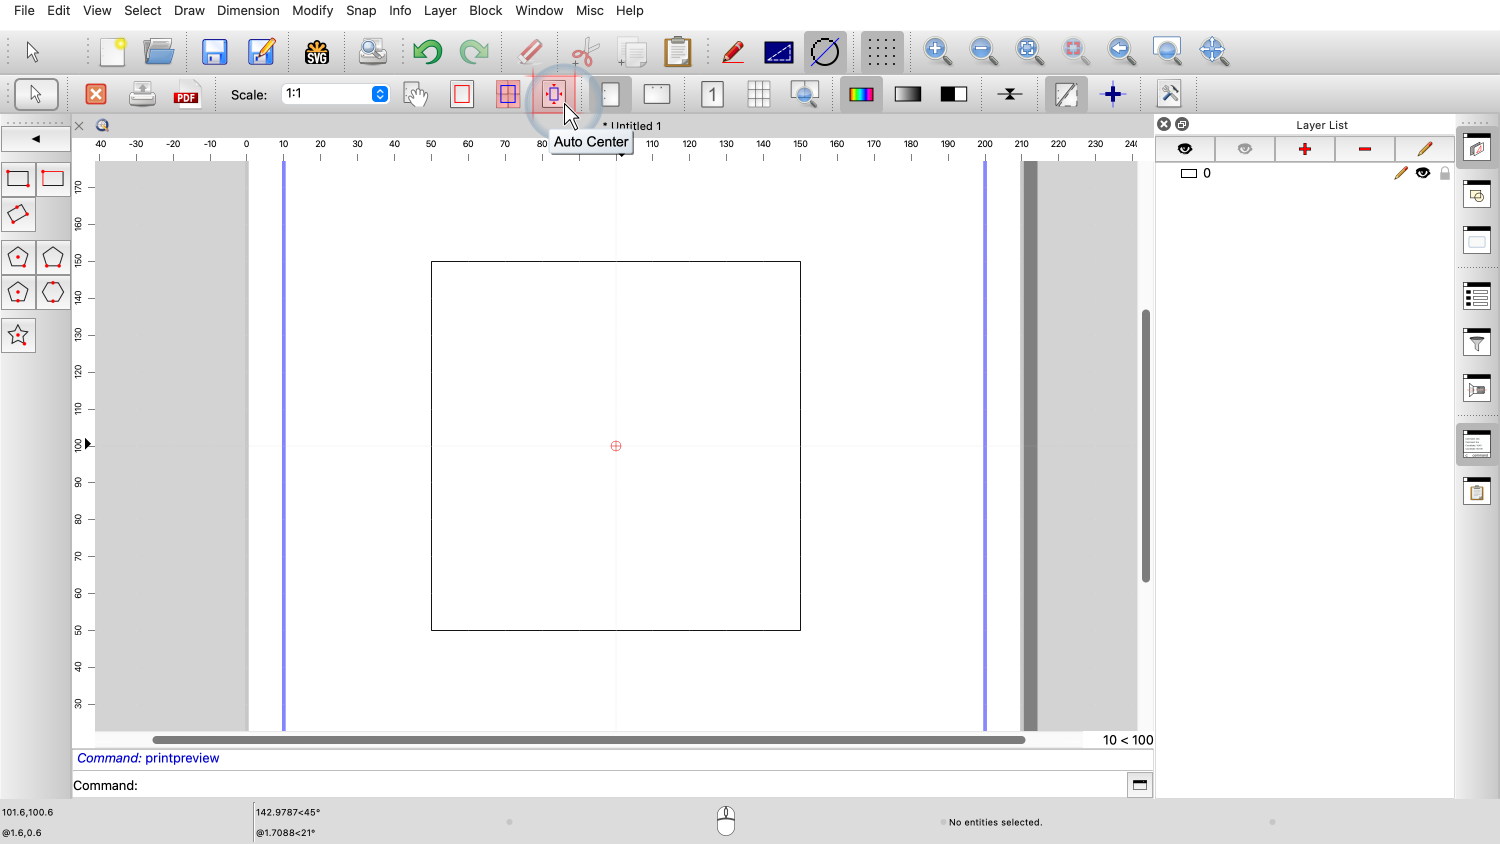
that lets us correct for such inaccuracies. To calibrate the printer, we start by drawing
a simple square with a side length of 100 millimeters. We could also draw a square that is for
example 4 by 4 inches instead but for this tutorial, we use 100
millimeters. We enter the dimensions of the rectangle as
100 by 100 units. We click somewhere to set the center of the
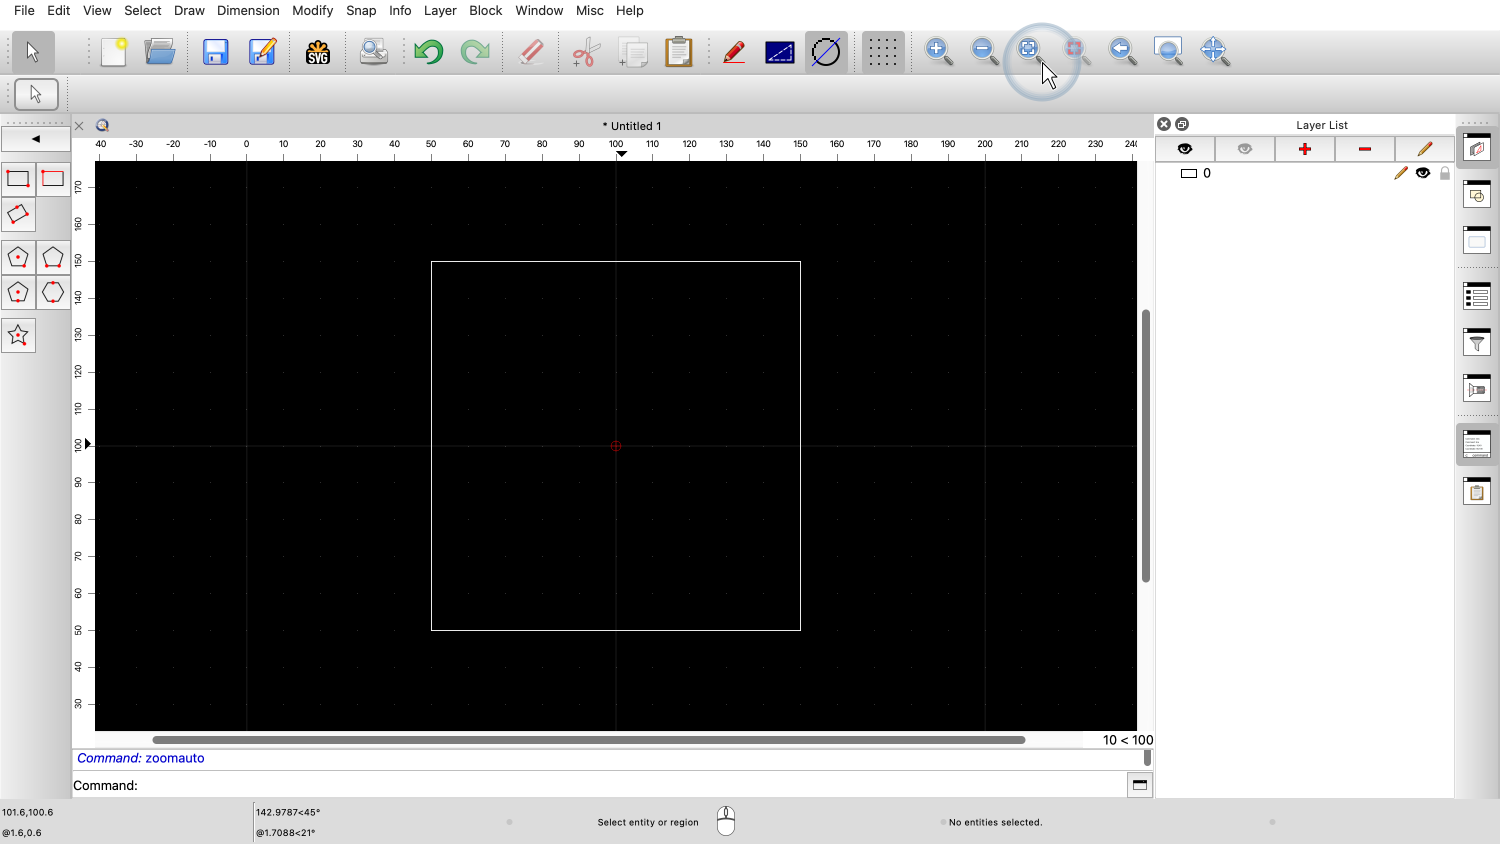
square. We now have a 100 by 100 millimeter square in
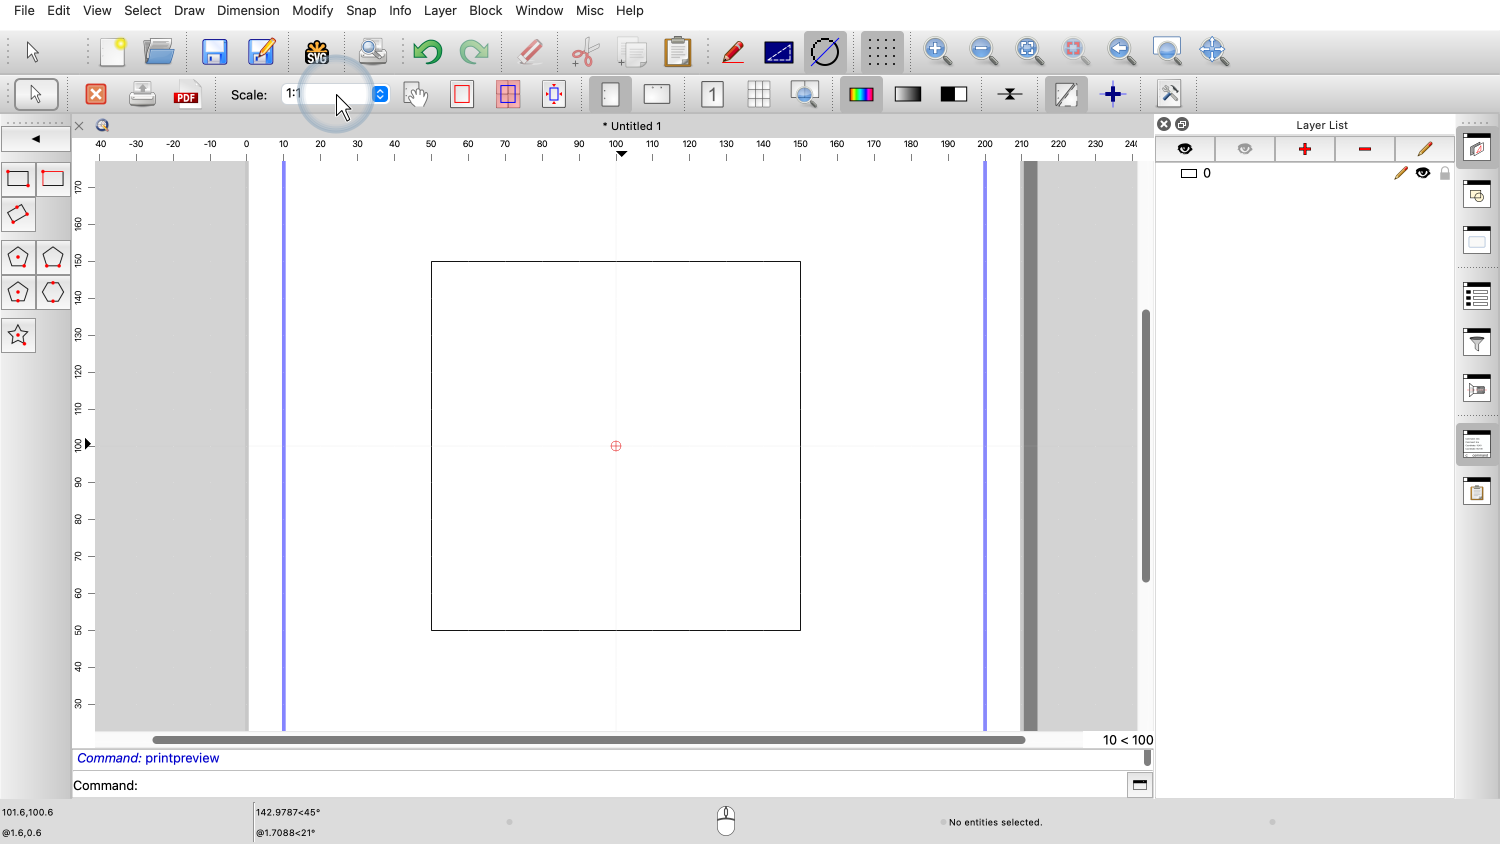
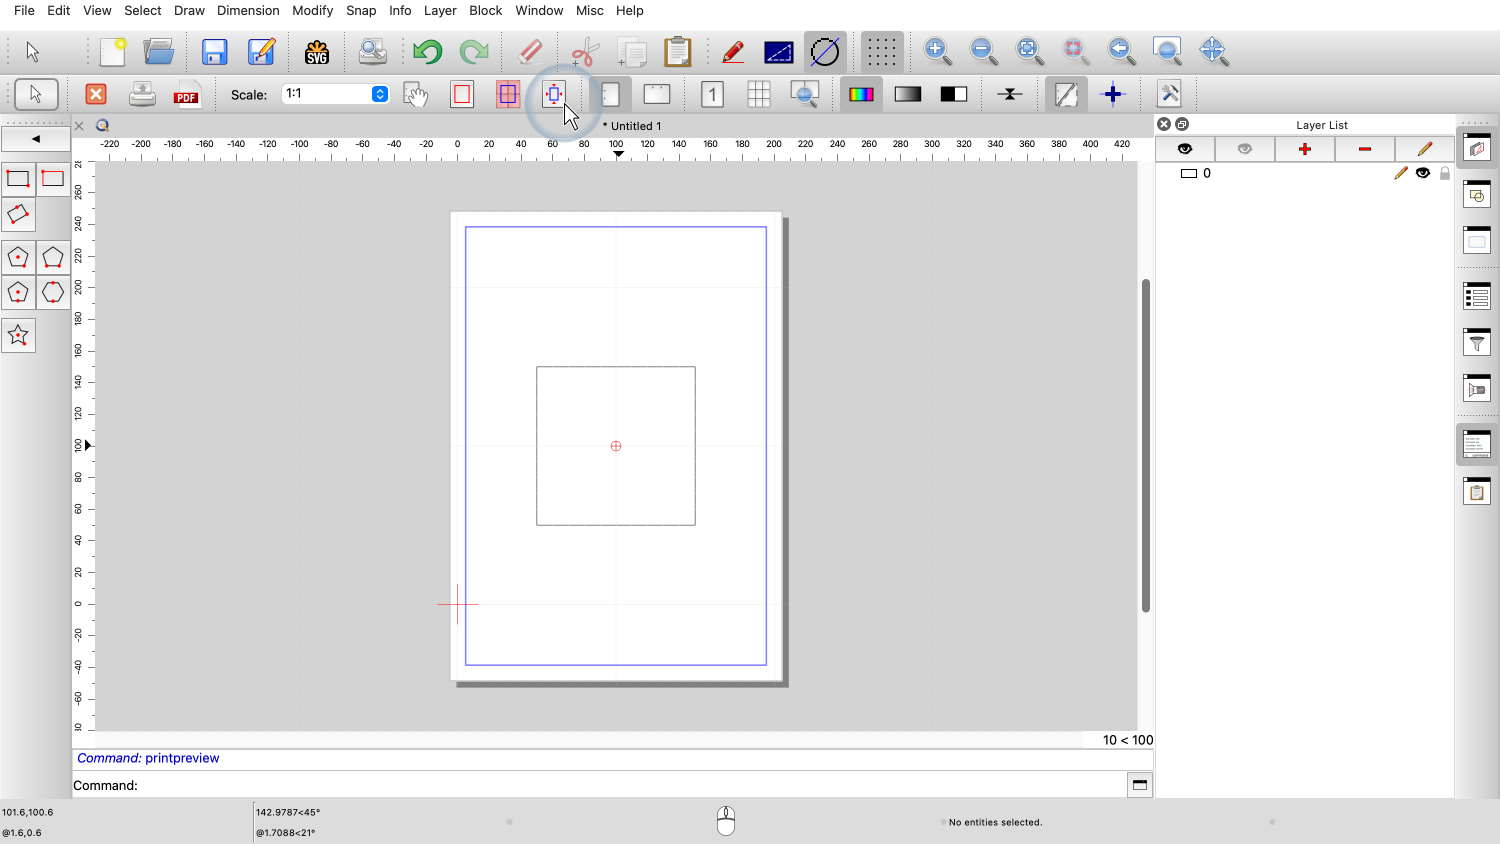
our drawing. Next, we switch to the print preview to
prepare the drawing for printing. In the print preview, we make sure that the
scale is set to 1:1 to print the square at its true size. We use the auto center button to center the
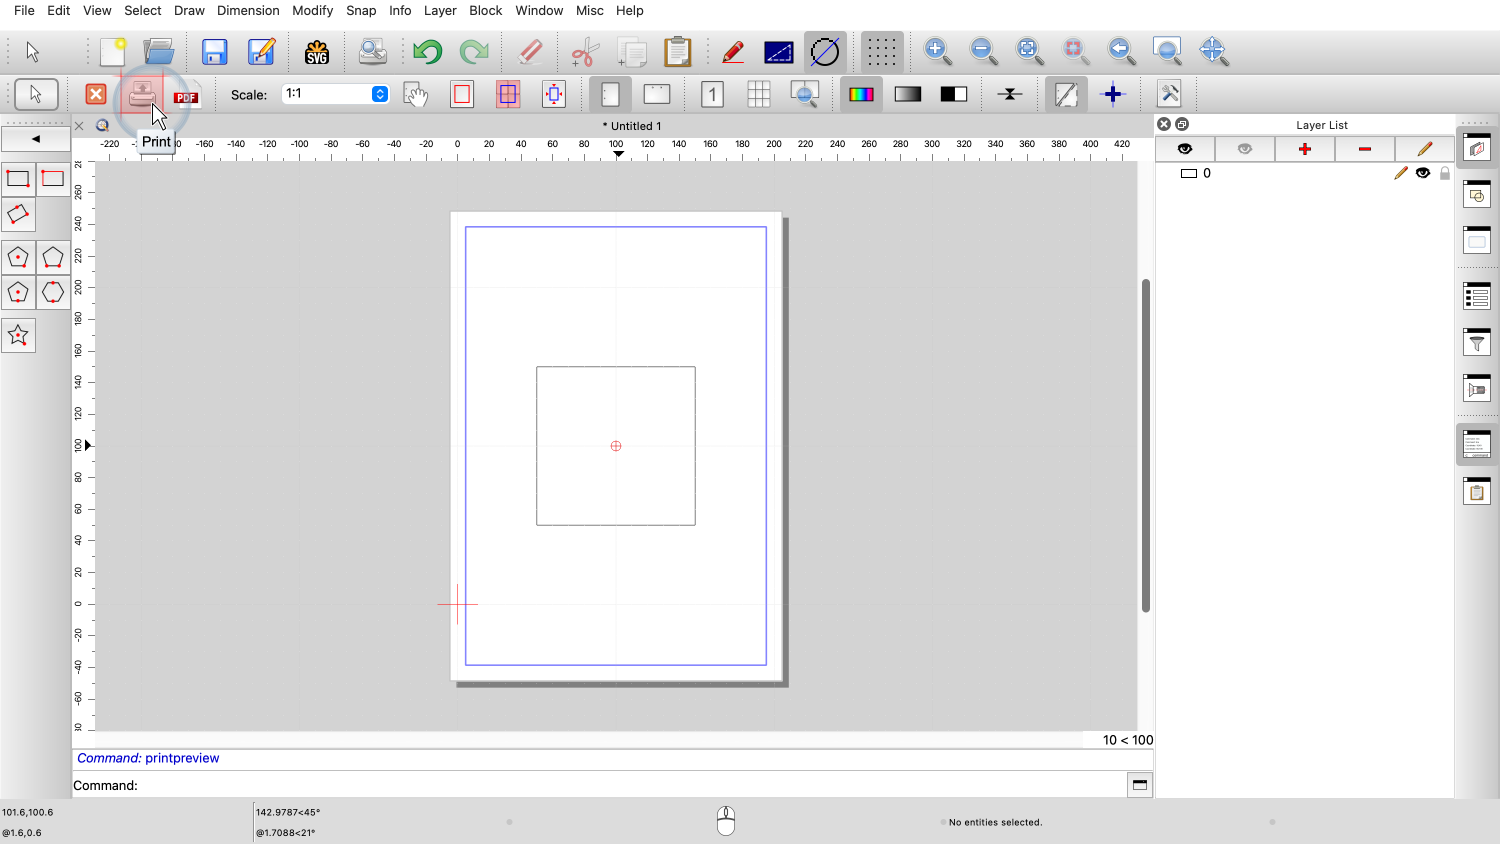
square on the page. We print the drawing using the print
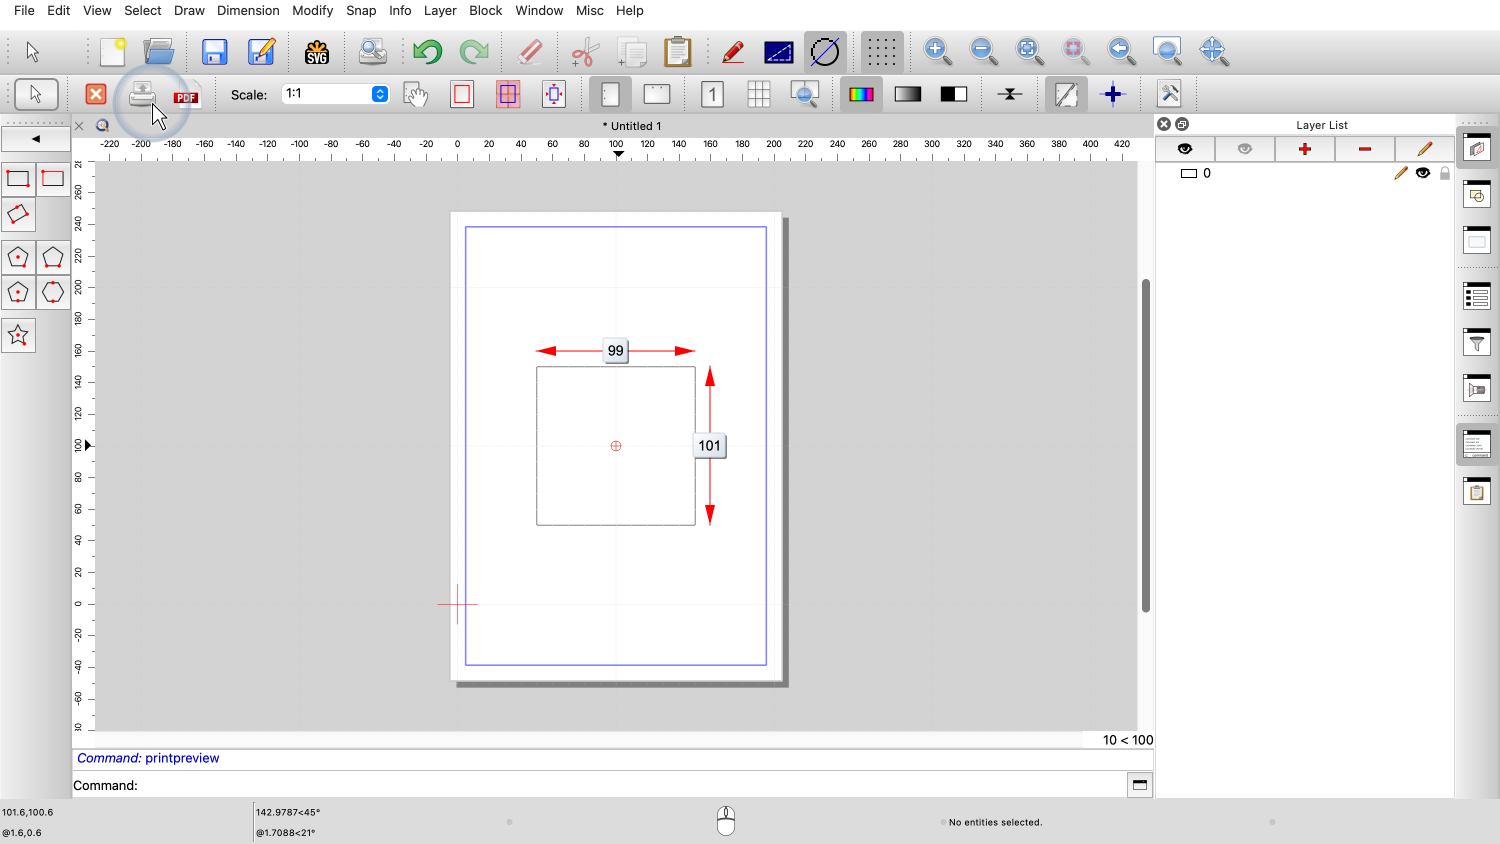
button. After printing, we take the sheet of paper and
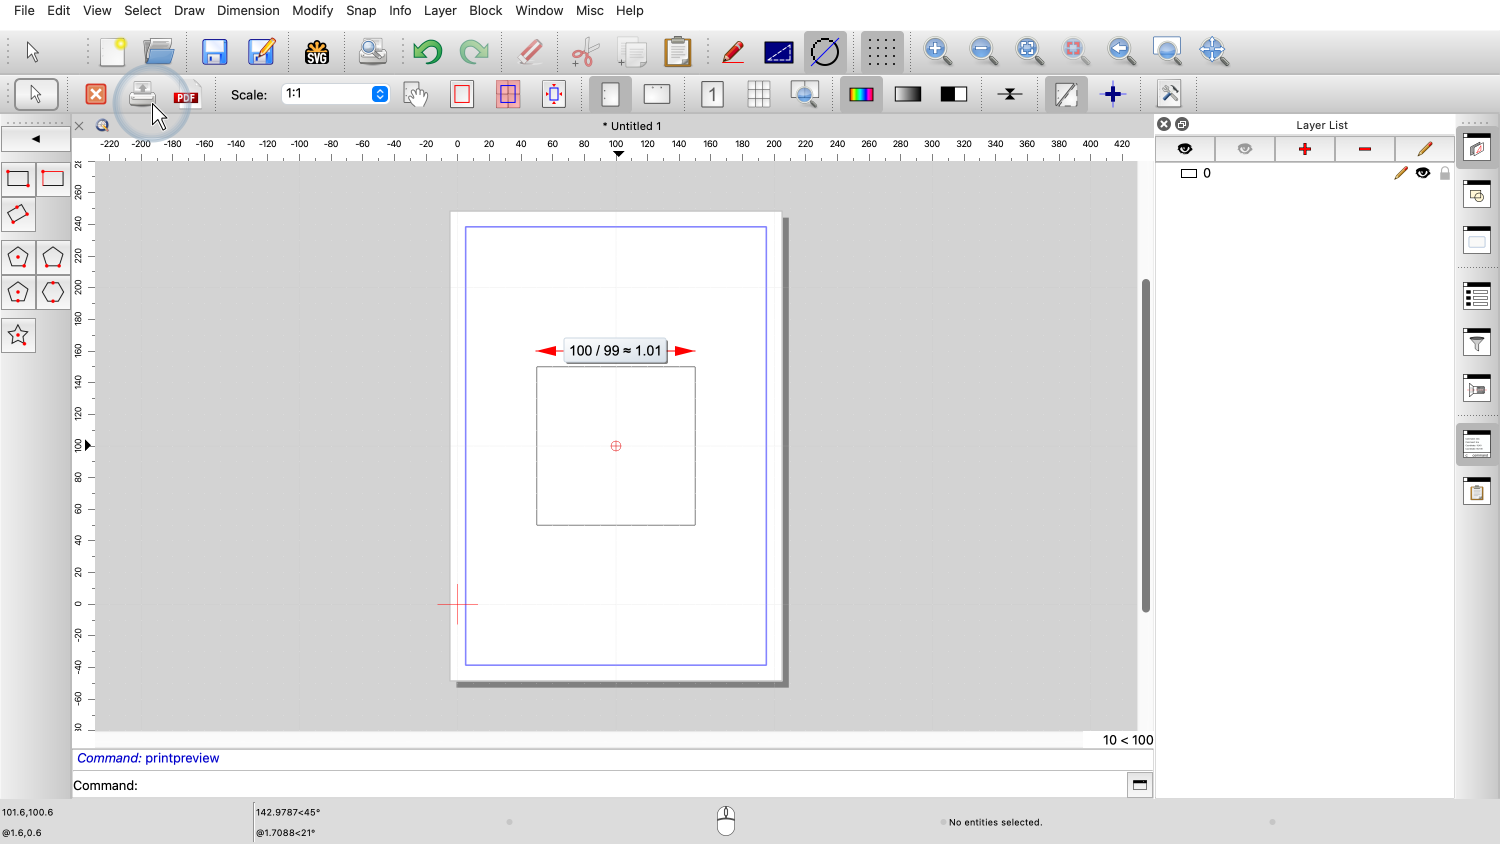
measure the printed square carefully with a ruler. We measure both the horizontal width and the
vertical height of the printed square. For this example, let us assume we measured 99
millimeters horizontally and 101 millimeters vertically. With these measurements, we can now calculate
the calibration factors. The calibration factor is the ratio of the
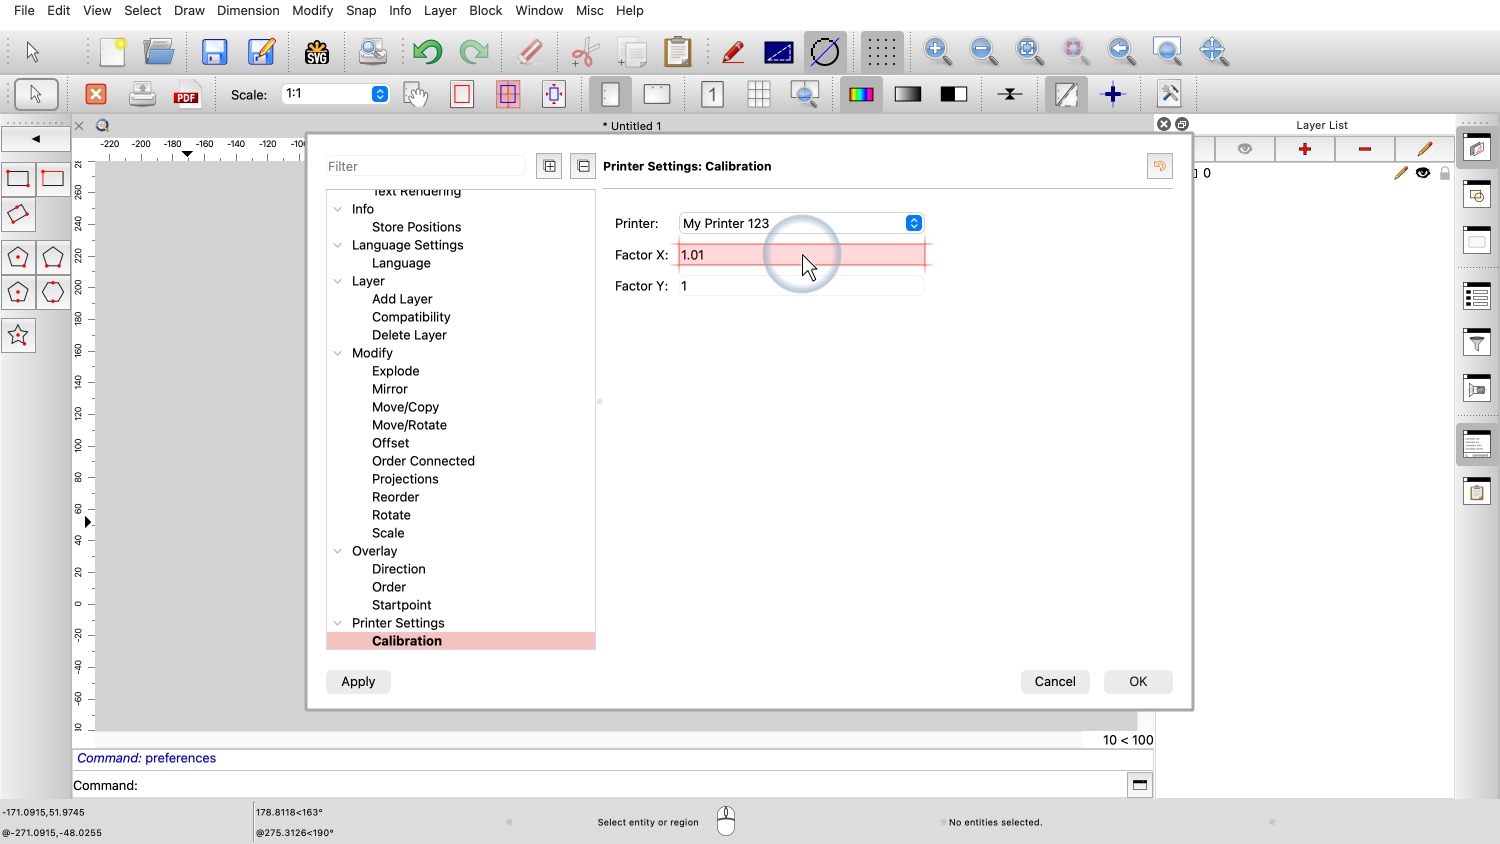
intended dimension to the measured dimension. In our example, the horizontal factor is the
desired width 100 divided by the measured value 99, which is
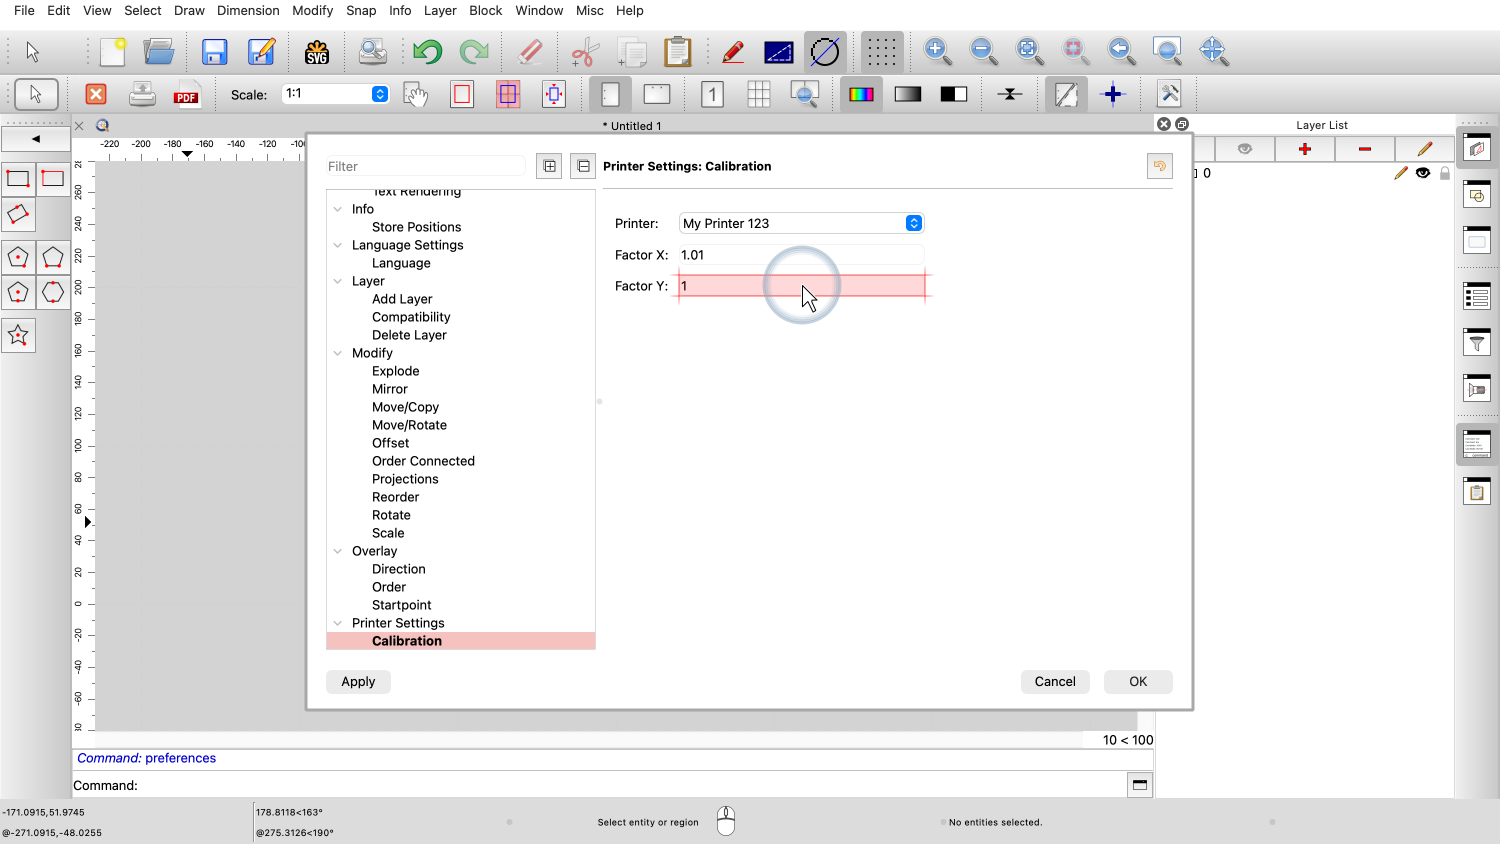
approximately 1.01. The vertical factor is 100 divided by 101,
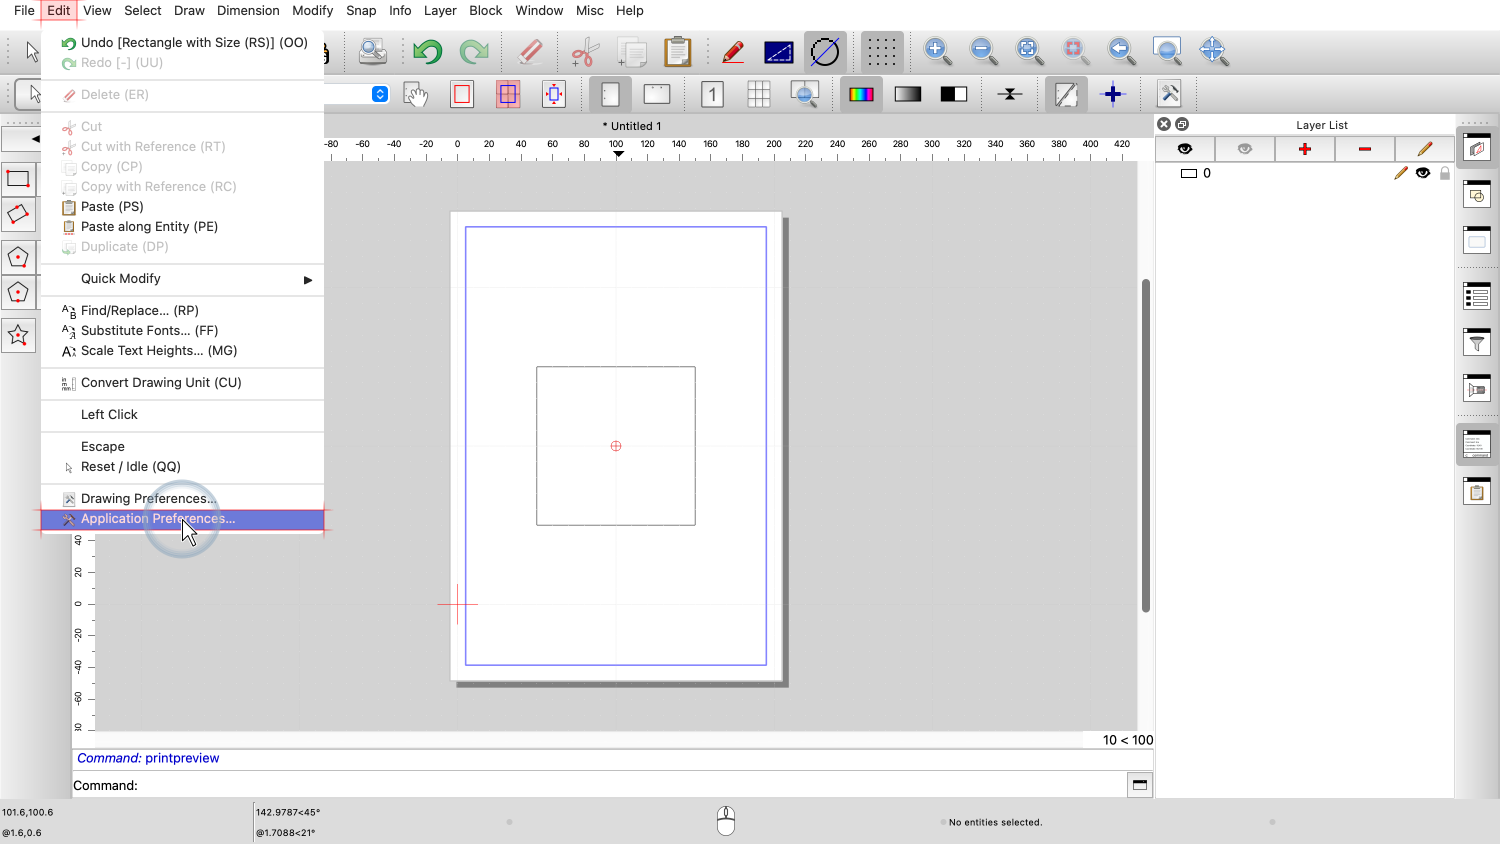
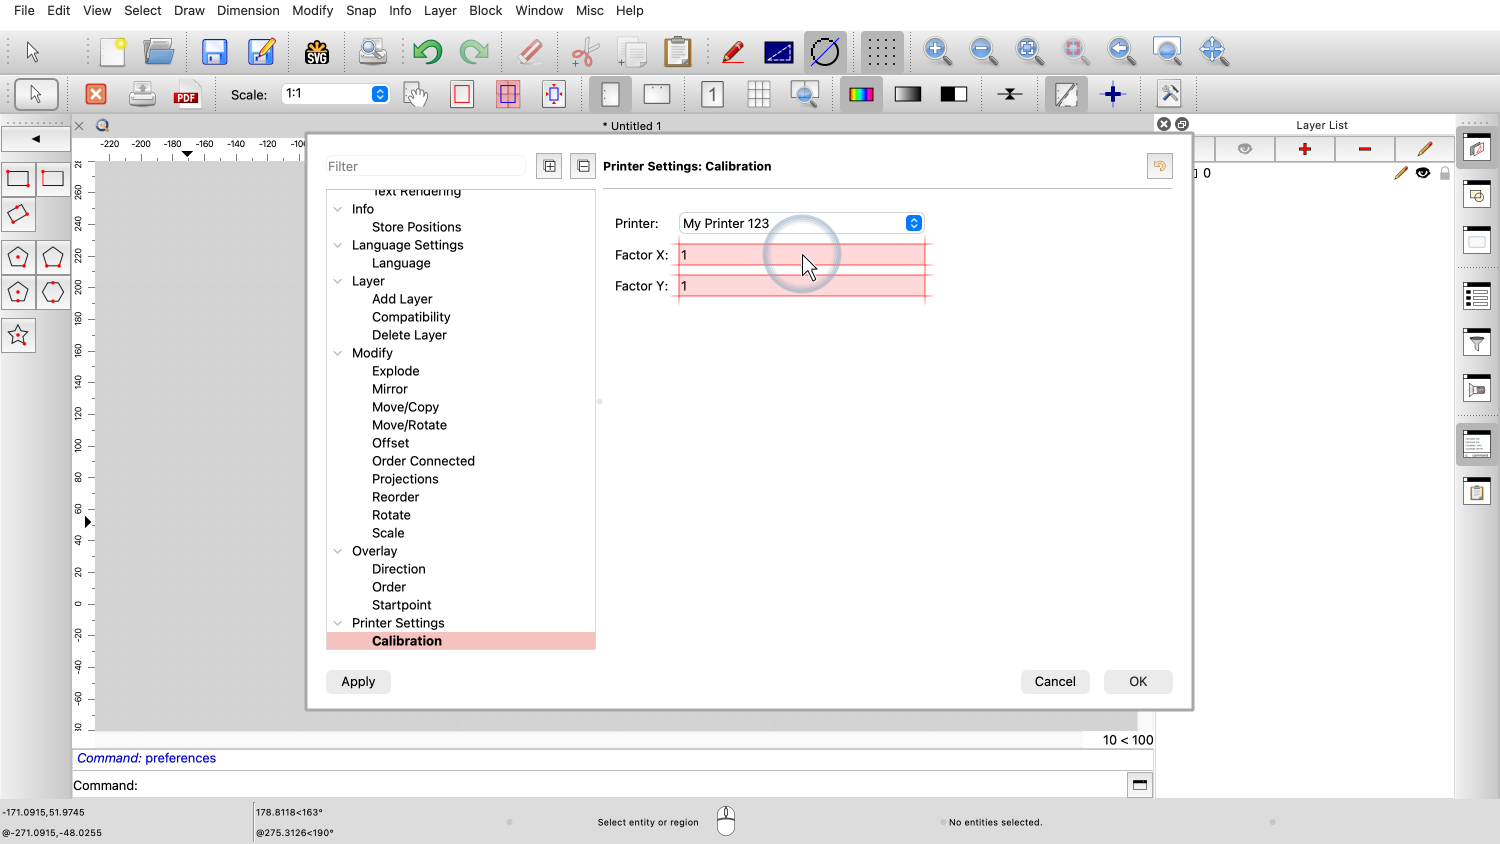
which is approximately 0.99. We now open the application preferences to
enter these calibration factors. We go to Edit, then Application
Preferences. In the application preferences dialog, we
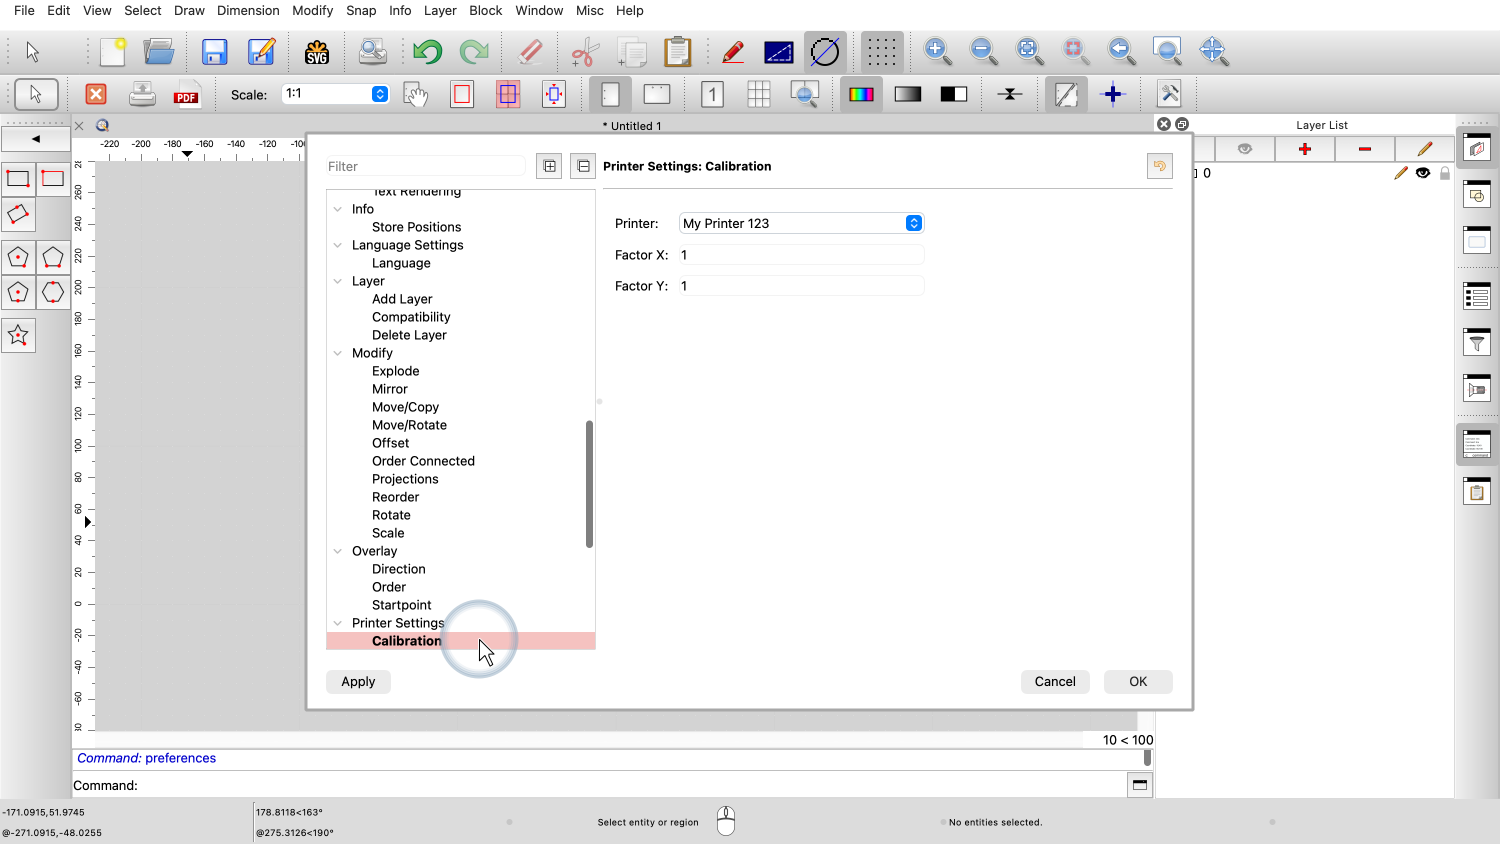
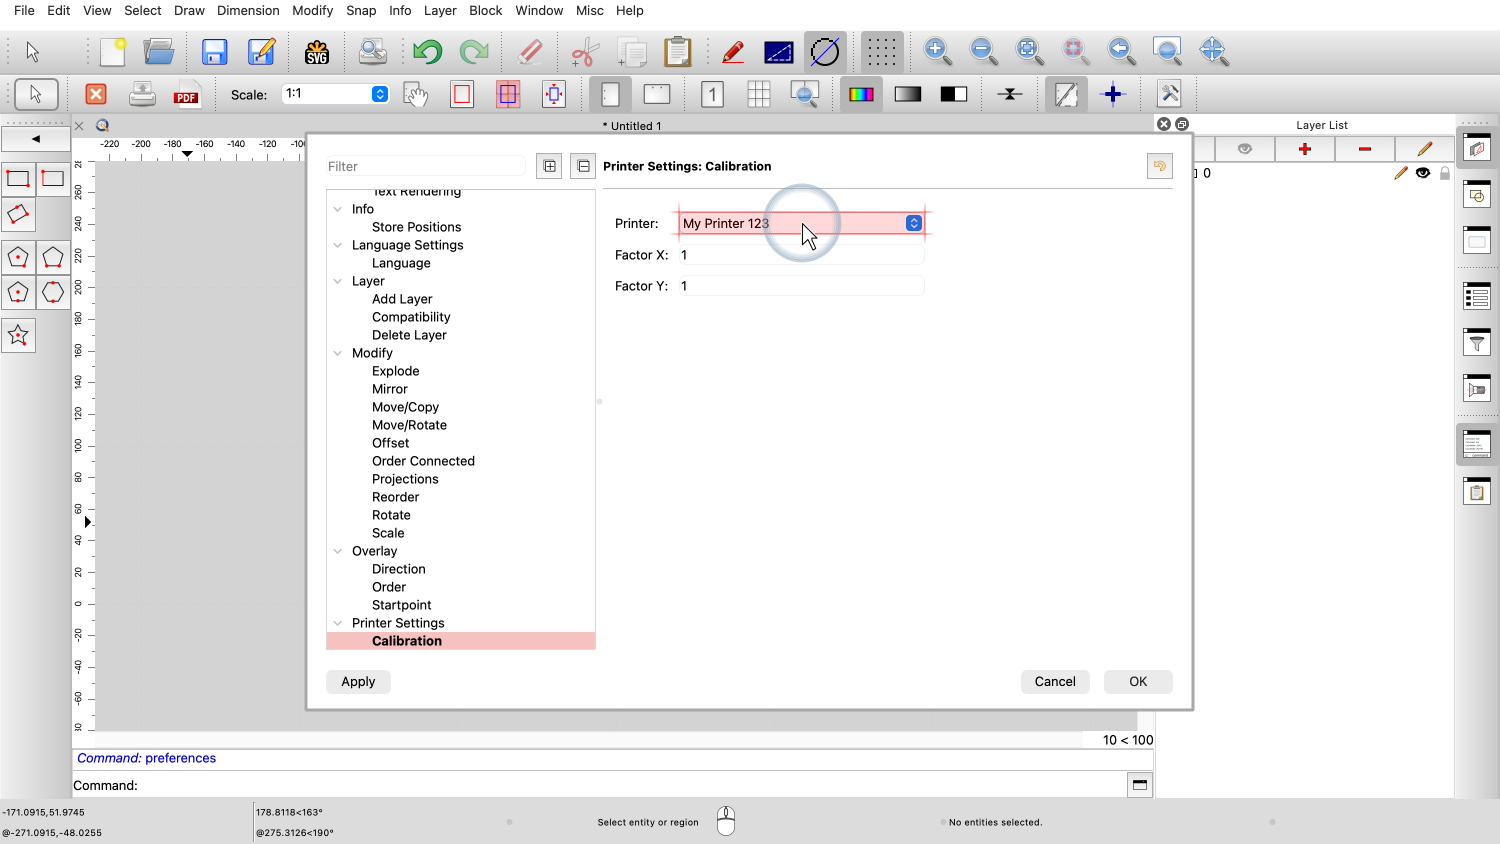
navigate to Printer Settings, Calibration. In the printer drop down, select the printer
to calibrate. This must of course be the same printer we used to
print our square. The calibration section shows two input fields
for the horizontal and vertical scale factors. We enter the horizontal calibration factor in
the first field. In our example, we enter 1.01 as the
horizontal factor. We enter the vertical calibration factor in
the second field. In our example, we enter 0.99 as the vertical
factor. The calibration factors are now stored in the
application preferences. QCAD will apply these factors whenever we
print a drawing with this printer, compensating for the
inaccuracies of our printer. To verify the calibration, we can print the
same square again and measure it once more. This time, the printed dimensions should be
much closer to the intended 100 millimeters. If the result is still not accurate enough, we
can repeat the process and refine the calibration factors
further. Keep in mind that paper is not a precision
material. Because it reacts quickly to changes in humidity, we
always have to expect some minor dimensional errors. You should now be able to calibrate your
printer in QCAD so that printouts match the intended real-world
dimensions. Be sure to practice this with your own
installation. Thank you for watching this QCAD tutorial.Video Transcript